CC applications such as CC Search and the CC Chooser are used by millions of users worldwide. Translating these services into the languages our users speak and read is integral to making these services accessible to our diverse user base.
We use Transifex to manage our translation files. It provides an intuitive UI and many useful tools. Let's see how you can join us there and get started.
TL;DR: We have a video version of this tutorial if you prefer that as the medium of instruction.
For translators
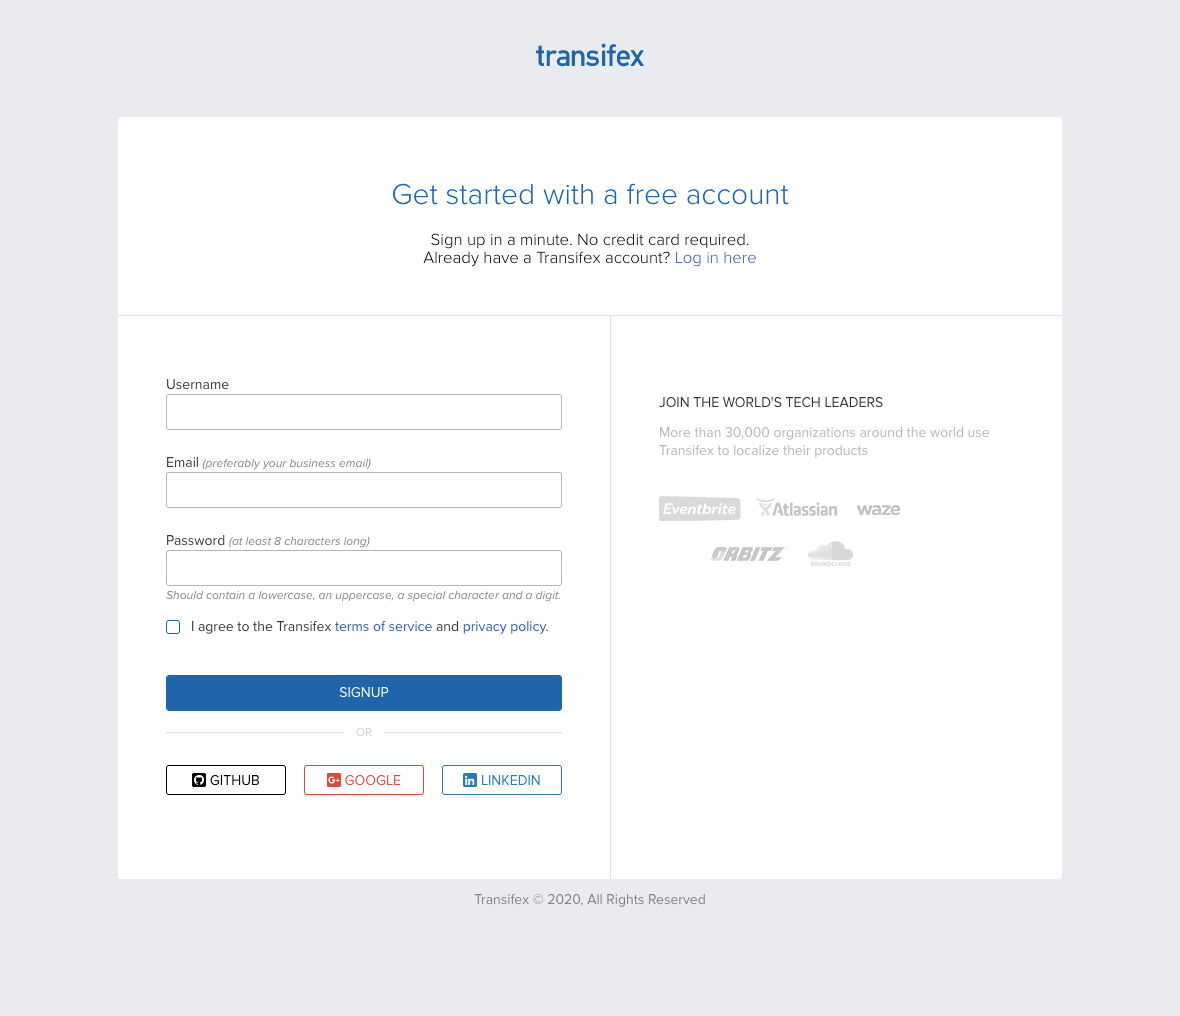
- Sign up on Transifex
- Visit the Transifex sign up page and fill out the form to create an account.
- You can create a new account using your email address, a username and a password.
- Alternatively you can link an existing account from GitHub, Google or LinkedIn to avoid having to remember another password.
- During the sign up process, you will be asked for the languages you speak. Remember to fill it as comprehensively as possible.
Verify your email You will receive an email from Transifex on the email address you signed up. Clicking the link in the email will verify that you used an authentic email to sign up and enable all the features on your account.
Visit the CC Organisation page The organisation page contains links to all CC projects currently in translation.
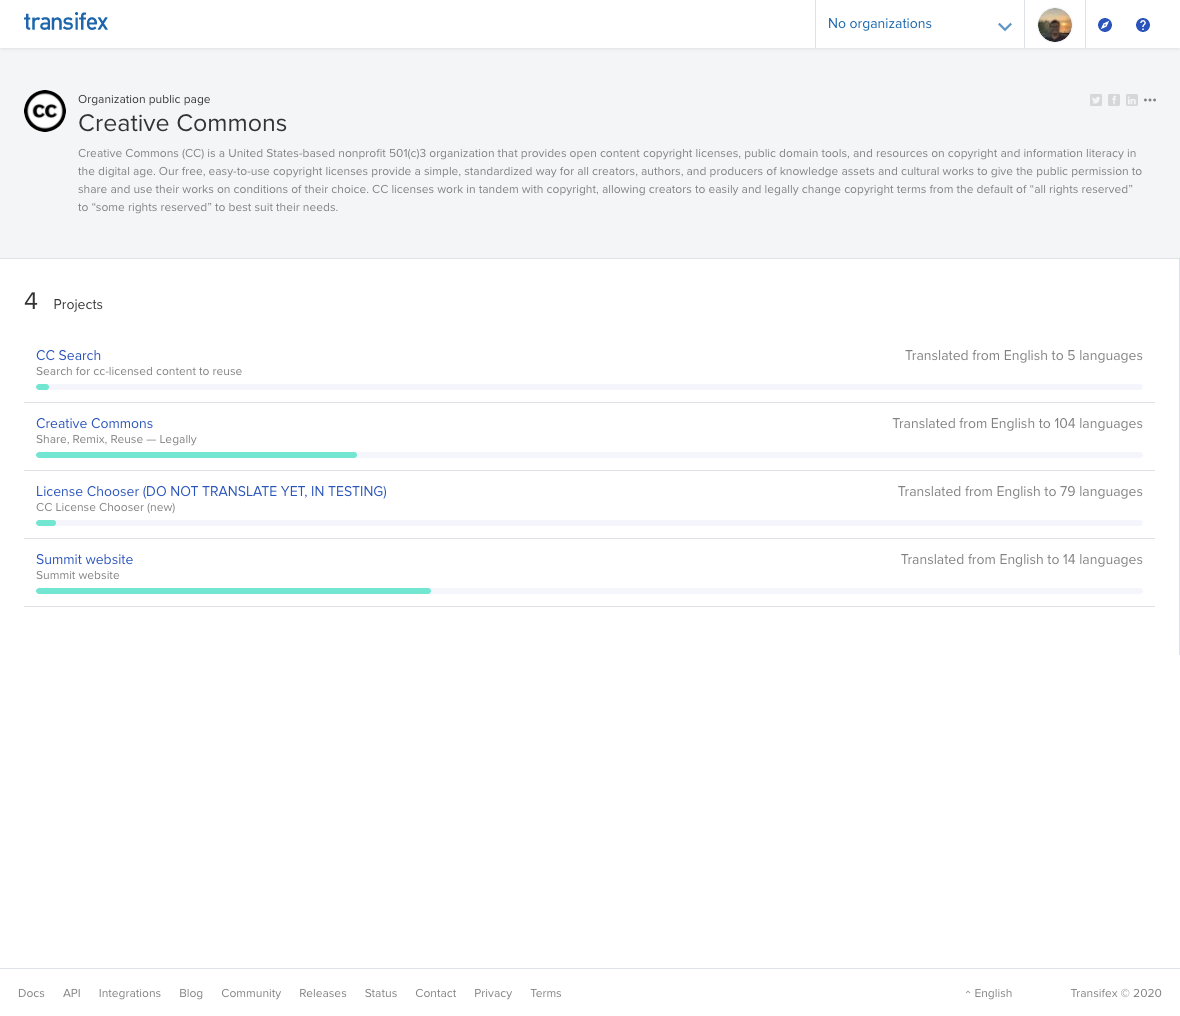
- Choose a project Choose any project from the list that you would like to translate. Click on the project name to go to the project page.
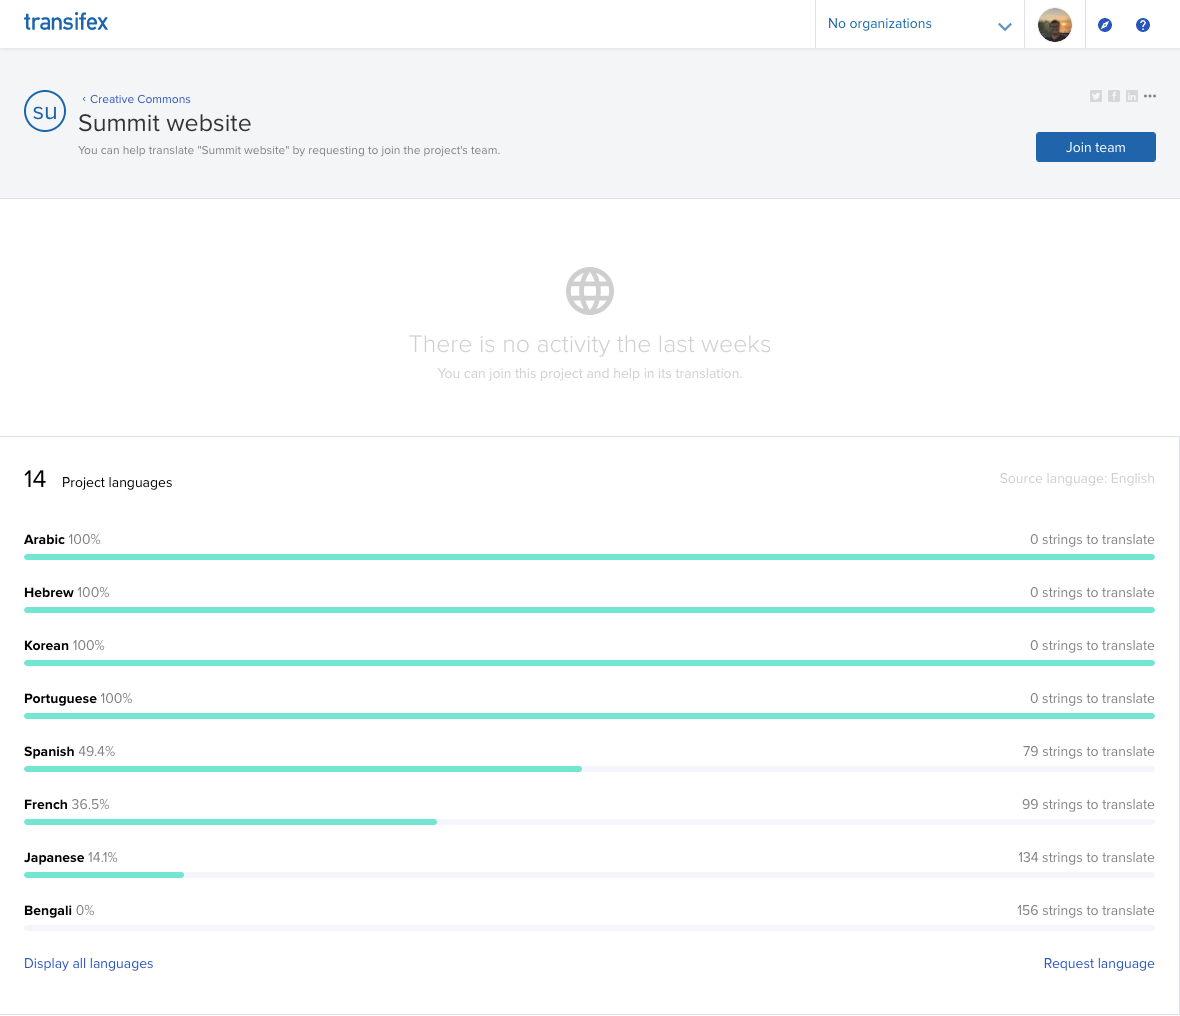
- Join the team
- You can see a list of languages that each project has been translated into. Not all languages are visible. Click on the 'Display all languages' button to see them all.
- If your language isn't present in the list, you can request for it by clicking the 'Request language' button. You will have to go to the previous step and find a different project till your language request is approved.
- If your language is present, click on the 'Join team' button to join the team that's translating this project.
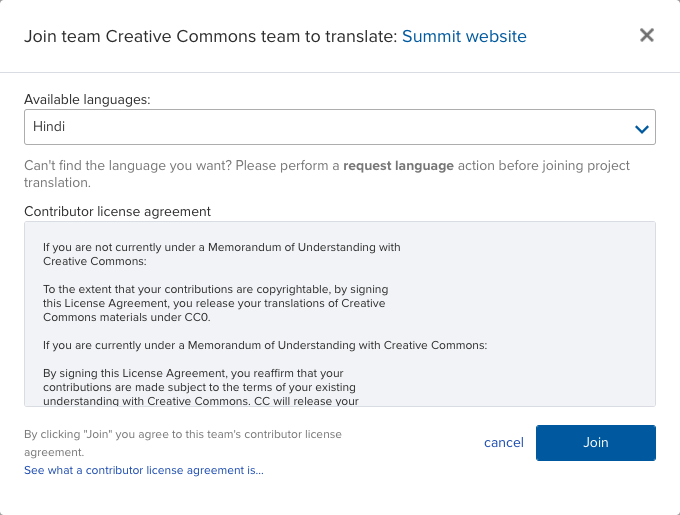
- In the modal choose your language and click the 'Join' button. You'll receive a notification that a request has been submitted.
- Notify the
cc-translationchannel on Slack- See Join the CC Developer Community — Creative Commons Open Source for instructions on joining Slack
- Wait for an administrator to add you to the team.
- Getting around
- You'll receive an email when your request has been accepted.
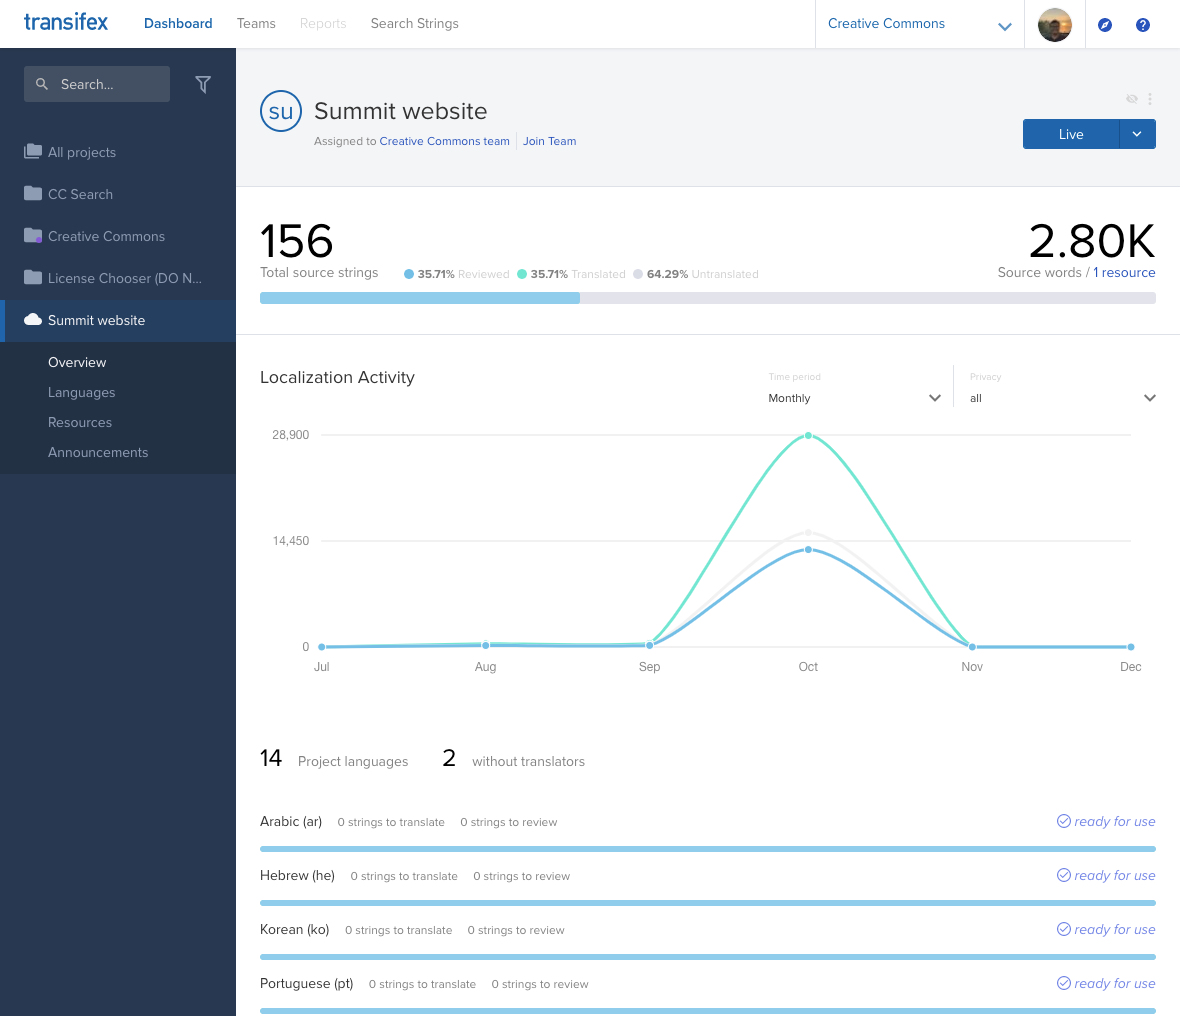
- When you log back in to Transifex, you'll see some changes in the UI.
- You'll have Creative Commons mentioned in the organisation dropdown.
- You'll see CC projects in the left sidebar.
- Click on the project of your choice from the sidebar.
- Translate the strings
- Find your language from the list of languages. Hovering over the name will reveal a 'View resource' button.
- Click on the 'View resource' button. That should take you to the page of that particular language. It contains the resources that you need to translate.
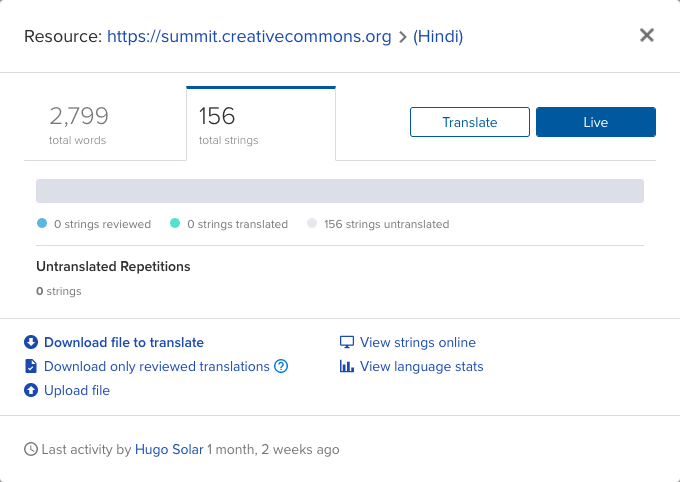
- Clicking on the resource opens a modal describing the words and strings that
remain to be translated. Here onwards you have three paths for translating
the site.
- Transifex editor UI, by clicking the 'Translate' button
- Transifex live UI, by clicking the 'Live' button
- Local string translation, by clicking the download and upload buttons
- Method 1: Translating using the Transifex editor UI
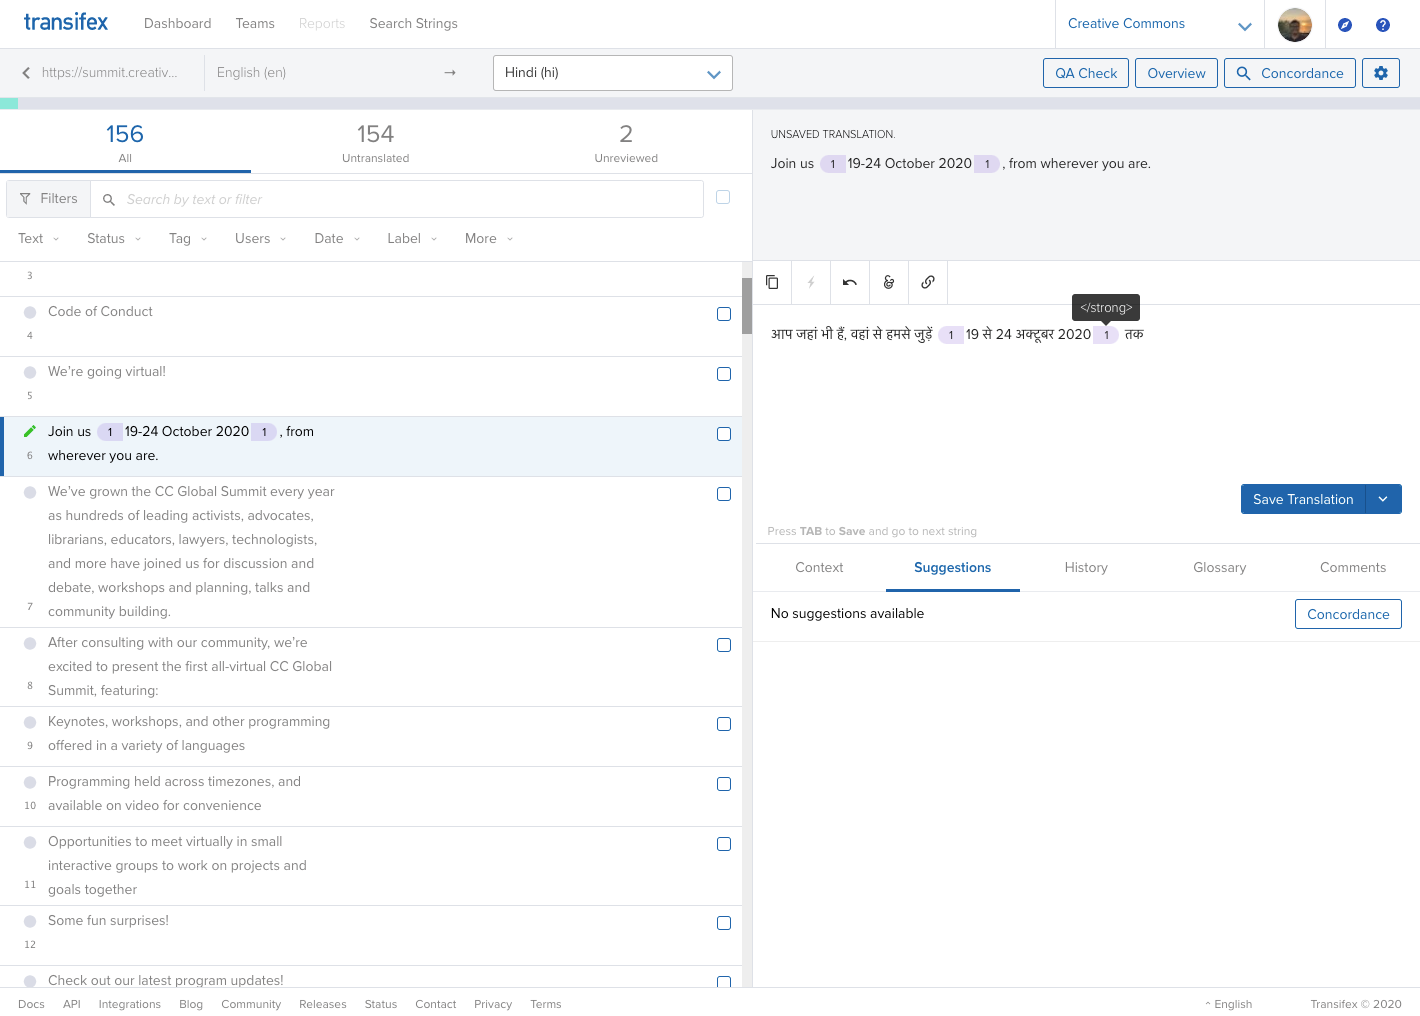
- To do this, click on the 'Translate' button from the resource modal. You will be taken to a list of all the strings from the website.
- Switch the language to your target language using the menu bar on the upper side of the screen.
- Click on any string, enter the translation in the lower box and click the 'Save Translation' button to commit the change.
- Some text has HTML tags in it. In those cases you can click on the tags in the source text to copy them over in the translated text. You can also drag to move them around as needed.
- Keep these instructions in mind: General Notes About Translating - Translating CC Deeds - CC Public Wiki
- Method 2: Translating using the Transifex live UI
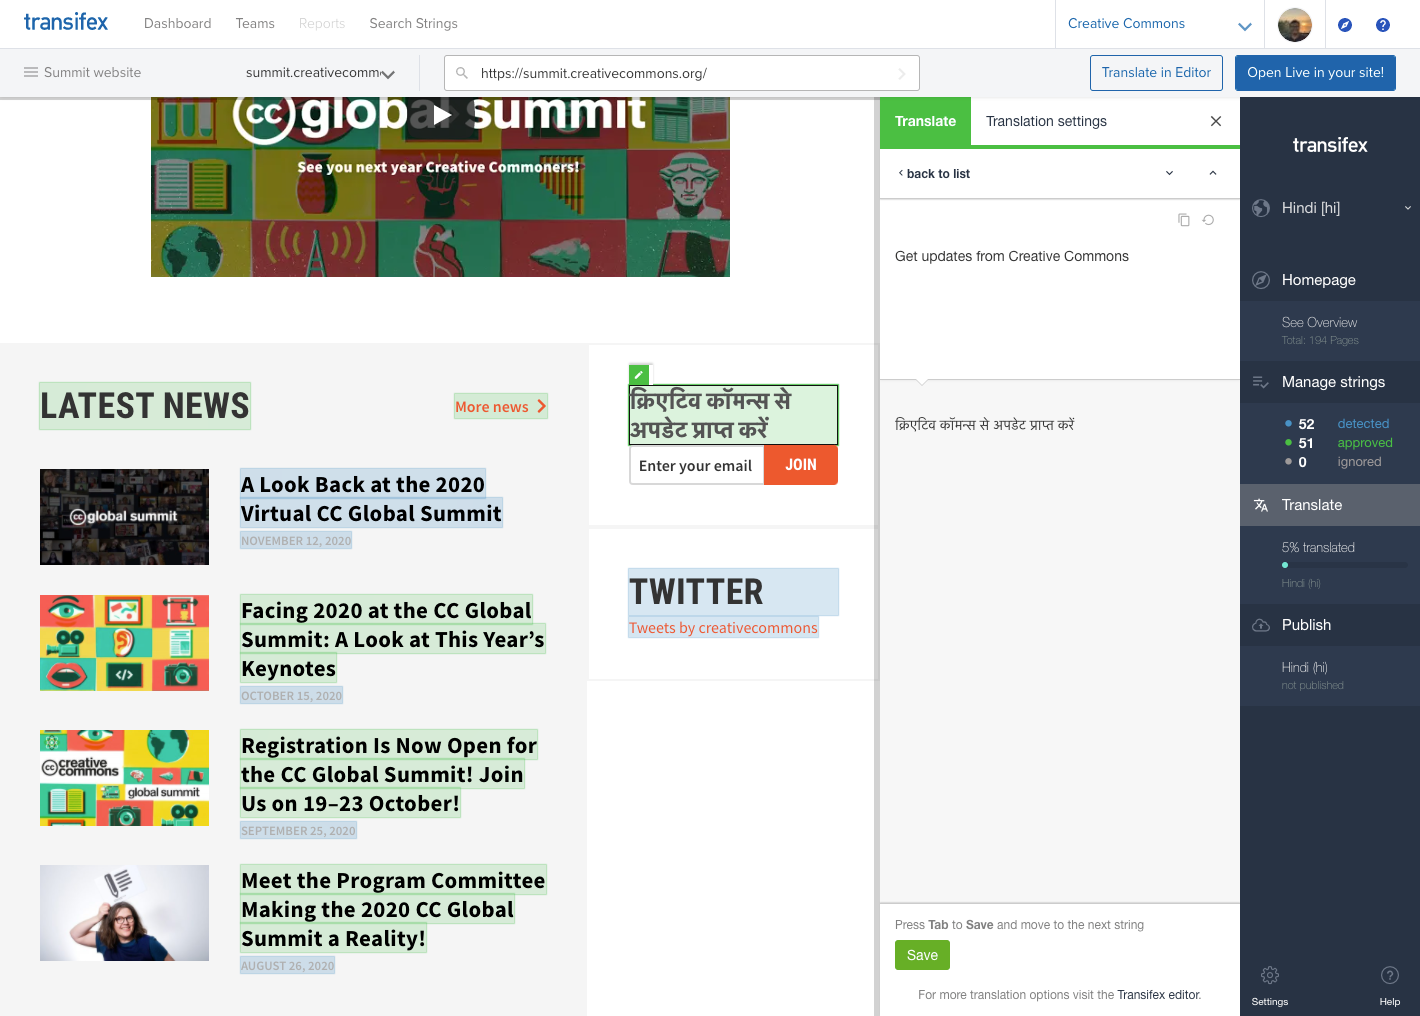
- To do this, click on the 'Live' button from the resource modal. You will be taken to the website rendered in the Transifex page and you can edit the text directly.
- Switch the language to your target language using the sidebar on the right side of the screen.
- All the text is green boxes can be translated. Click on the pencil icon that appears when you move your mouse over the green boxes.
- Enter your translated string in the lower box and press the 'Save' button to confirm the translation.
- Method 3: Translating strings locally
- To do this, you can download the JSON file that maps English strings to their counterparts in your language by clicking the 'Download file to translate' button.
- For the untranslated strings, both key and value will be the same.
{ "Hello, World!": "Hello, World!" }
- Change the JSON values to the translated text.
{ "Hello World": "नमस्ते, दुनिया!" }
- Upload the translated JSON file using the 'Upload file' button.
Your translations will go live as soon as they are approved by the admins.
For admins
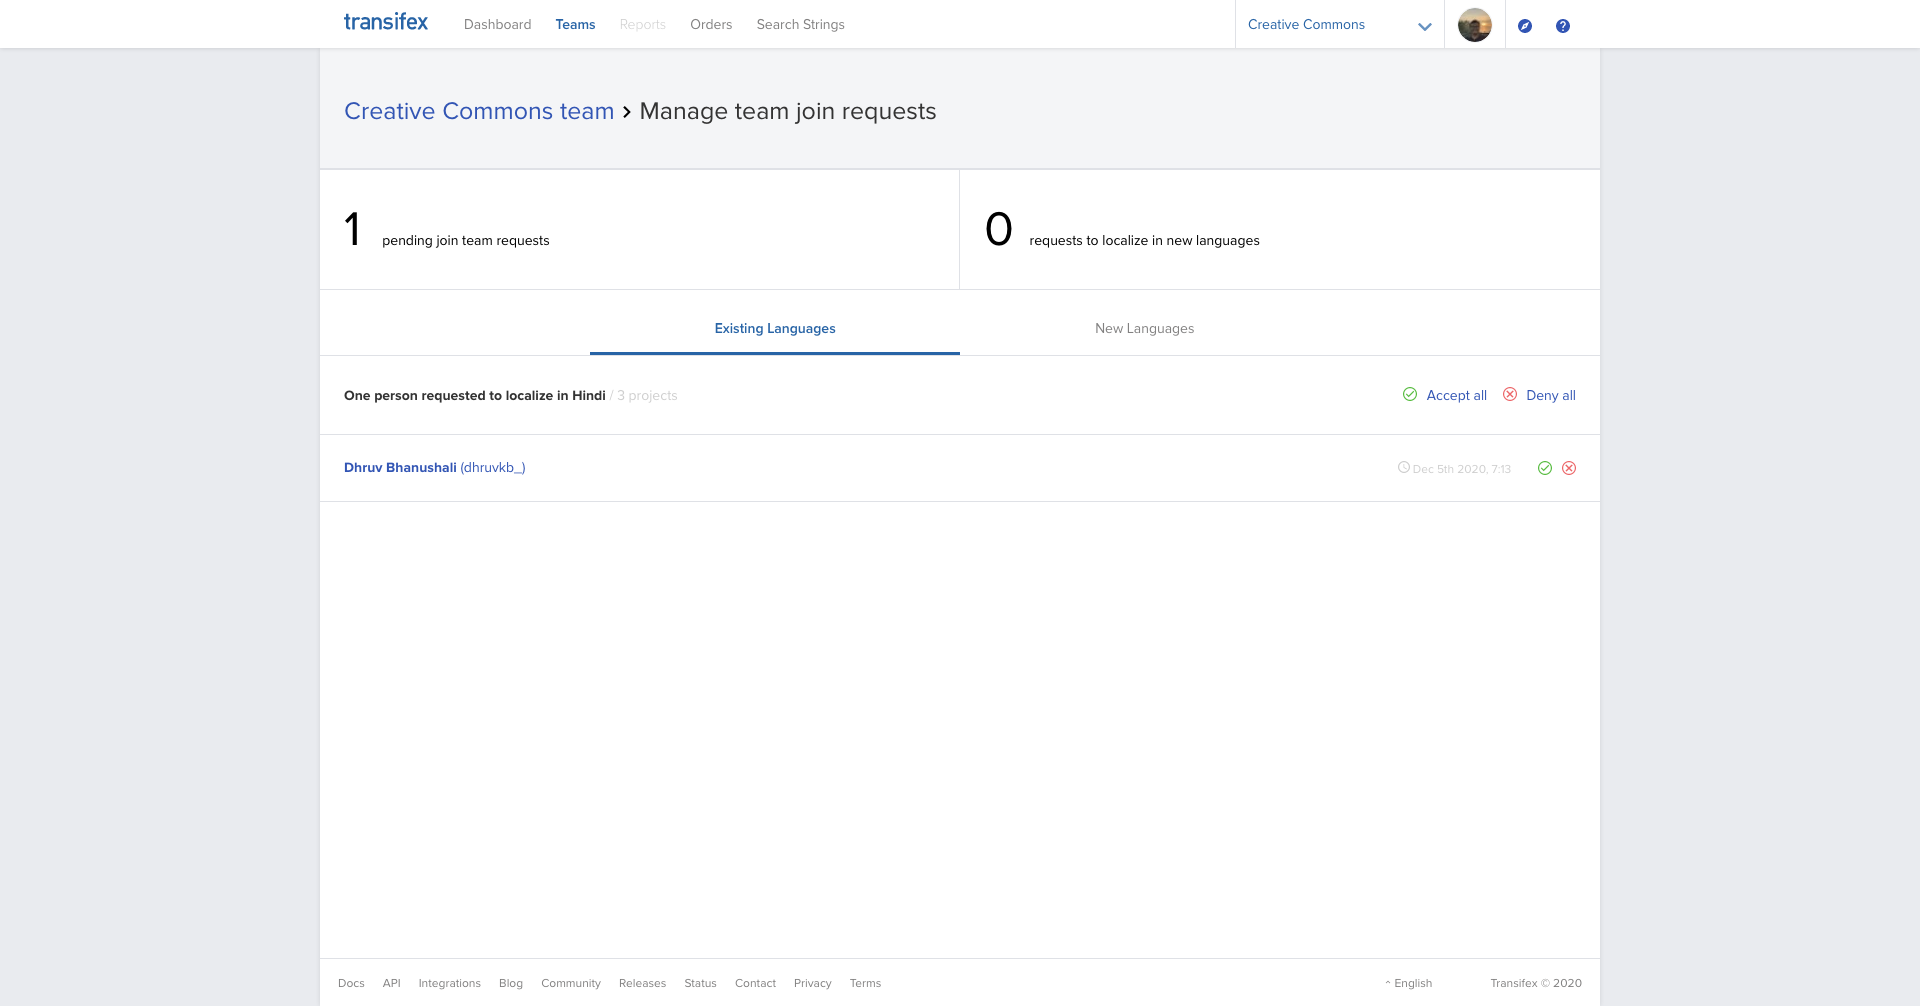
- Approve team join requests
- Click on the person's name to see their profile. That could help in determining the credibility of the candidate.
- Click the 'Accept' button if you want to add the collaborator to the team. You'll receive a notification confirming the acceptance of the translator.
- Review translations
- Navigate to the resource as described for translators in the 'Translate the strings' section.
- In the resource modal that appears, click on the 'View strings online' button. You will be taken to the strings page.
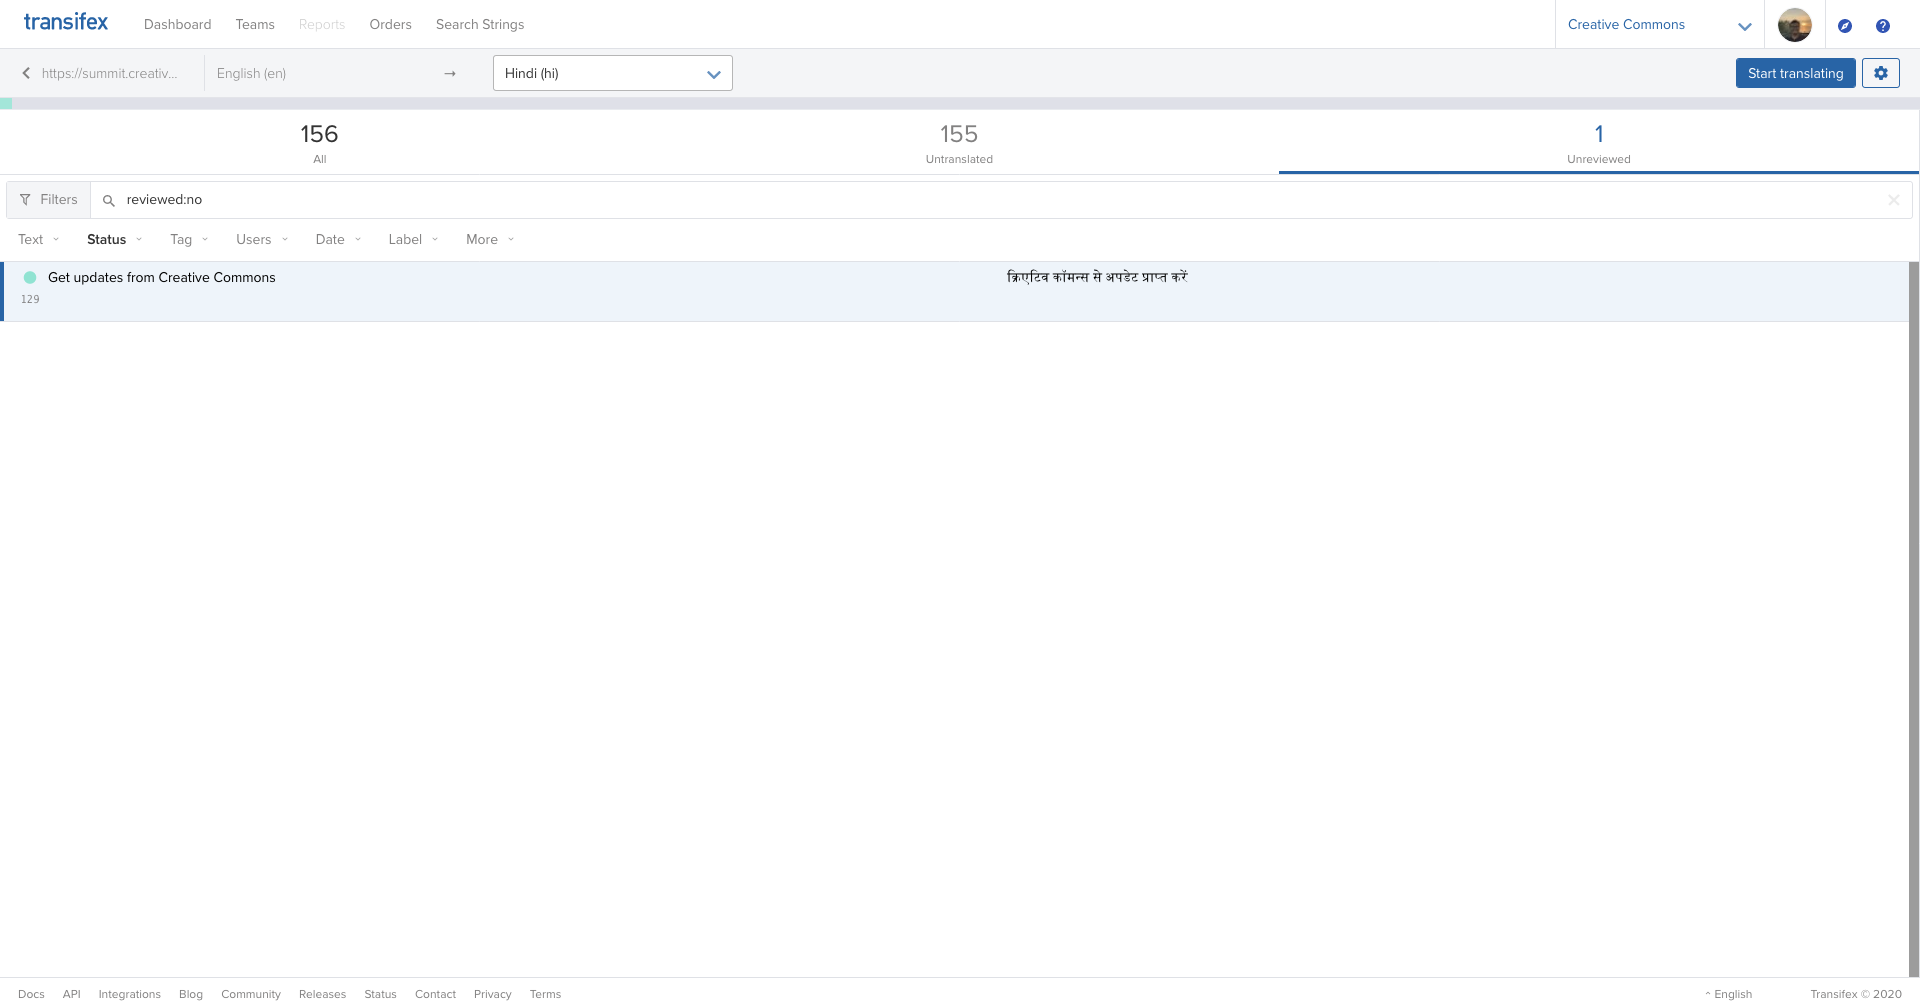
- Click on the 'Unreviewed' tab. Approve or decline the translation as applicable.
